
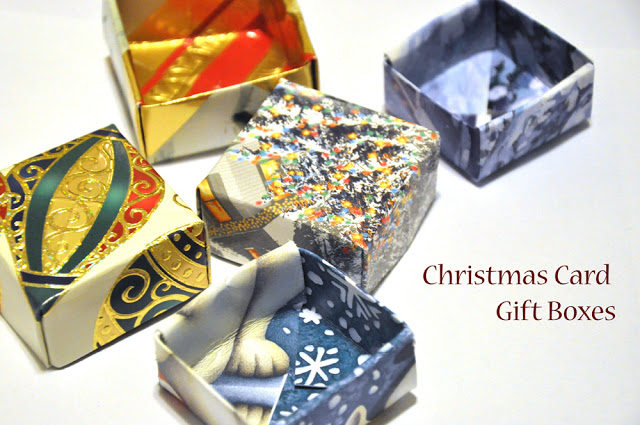
Do you have an ever-growing stack of holiday cards you collect each year, or is that just me? It's hard to know what to do with them all, so here's a quick and easy DIY craft that recycles your old holiday cards into tiny origami gift boxes that you can use the next year for stocking stuffers!
{holiday card gift boxes}
Materials needed:
Holiday cards
Scissors
Tape (optional)

You'll need the front and back of the greeting card for these boxes (to make the top and bottom of the box). As a tip: larger cards are easier to fold and make bigger boxes, so shy away from the smaller sized cards if you get frustrated by attempting tiny origami folds (like me).

1. Cut the card down the middle to separate the front from the back. The folds are the same for both halves, but this demo will be for the top of the box.
2. Cut your card so that it is a perfect square. (When you're making the bottom of your box, you will need to remember to make the square slightly smaller)
3. Flip your card over so that the pattern is facing down (in this case, I wanted the polar bear and penguin on the top of the box. I'm not sure why this card happens to have a weird design on the back, too!)
4. Fold your card in half right-to-left and reopen.

5. Now fold your square in half top-to-bottom.
6. When you reopen the square, you should see the crease marks create a "plus" sign on your card.
7. Fold each of your corners into the center where they should line up. (Sorry, in this picture I rotated the card a little... I hope that doesn't confuse anyone!)
8. With your corners still folded to the middle, now fold the top and bottom of your square to the center where they should line up.

9. Unfold the last step you just did and do the same thing the other direction: bring your left and right sides of your square to the middle.
10. Unfold everything except two of your corners, as shown.
11. Fold in the left and right halves along your crease lines to make a "skinny tie" shape.
12. Lift up the sides you just folded down to create the sides of your box.
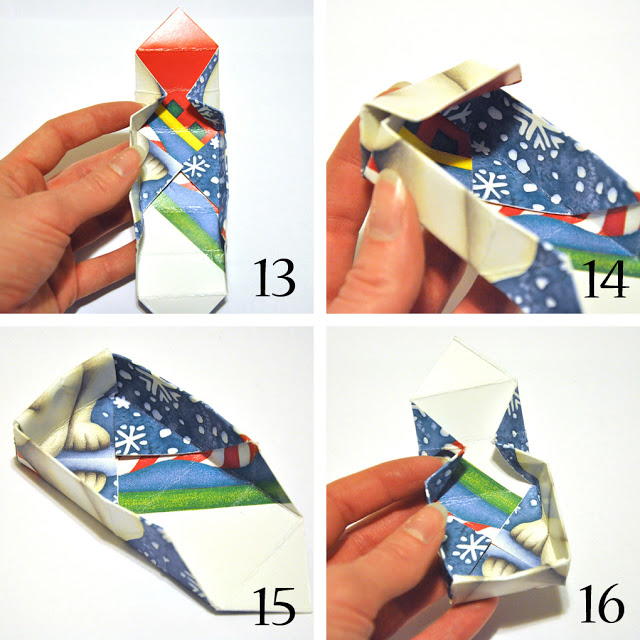
13. Pinch your fingers into the top creases so that the side of the box starts to collapse into itself.
14. Flip the fold up and over...
15. ... so that it tucks into place and holds up the side of the box.
16. Do the same thing to the other side of the box. If the flaps keep popping up, use a bit of tape to secure it in place.
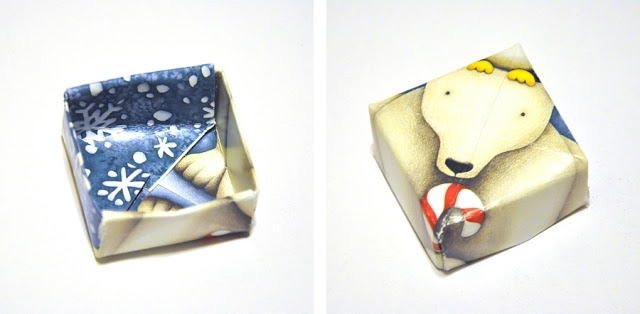
Now you should have one half of a tiny holiday box! Make the bottom of your box the same way (but cut your square slightly smaller) and fit the two pieces together to make a closed box. Fill with candies, jewelry, or other small gifts to put in Advent Calendars, stockings, or under the tree!
Enjoy!
